

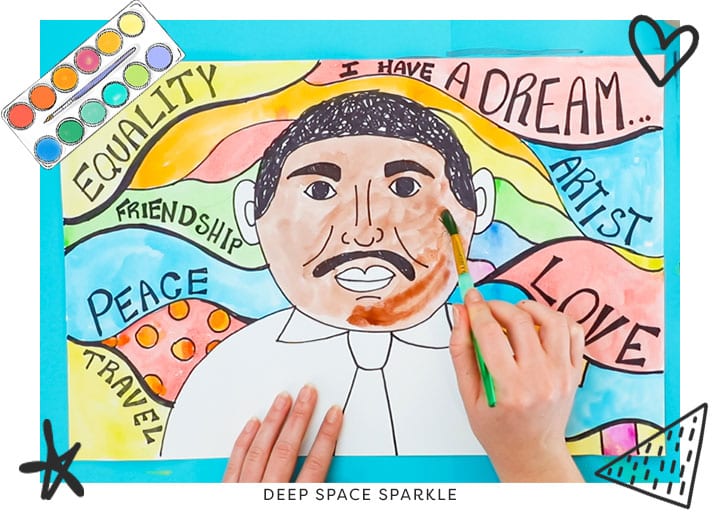
drawing of martin luther king
Few figures in American history inspire hope in the human spirit quite like civil rights activist, Martin Luther King Jr. His iconic I Have a Dream speech outlined his hopes for the future of the country where equality, community and peach reign supreme. On the third Monday in January, we celebrate King's birth and legacy and what better way to honor him and guide your students towards thinking on a more global scale than to have your students create a portrait of Marin Luther King Jr., surrounded by their own dreams for society.
Watch the full video tutorial here…
Click the yellow box below to DOWNLOAD the Marin Luther King Jr. Drawing Guide below as well as our other January freebie lessons coming out this month…

WHAT YOU'LL NEED:
– 12″ x 18″ white sulphite paper
– Black waterproof marker
– Pan watercolors
– Medium round paintbrush
DRAWING MARTIN LUTHER KING JR.
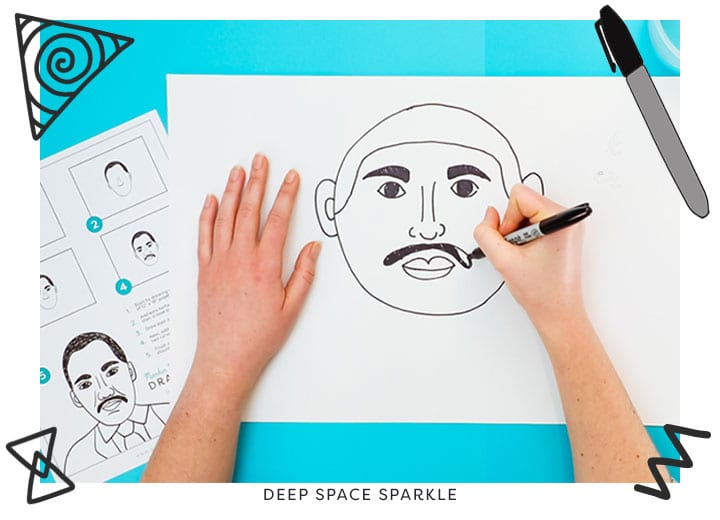
Start off by drawing a large oval in the center of your white sulphite paper using a waterproof marker.
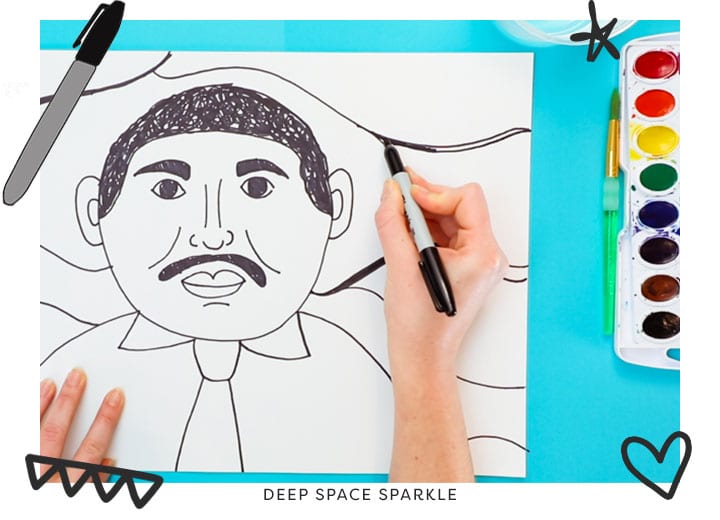
Next, add ears halfway down the outside of the oval. Draw a hair line from the center of the ears that goes up, flattens out a bit in the middle, then goes back down toward the center of the other ear.
Draw a nose in line with the bottom of the ears near the center of the face. To draw the nose, start with a "U" shape for the center, then a "C" shape on the left of the "U" and a backward "C" shape on the right side. Add two lines for the sides of the nose.
Add two eyes in line with the top of the ears, then thick eyebrows on top.
Draw a mouth halfway between the bottom of the nose and the chin. Add a mustache on top and two curved lines for cheekbones.
Add two long, curved lines for shoulders that extend to the bottom of the page. Draw two triangles for the collar of the shirt from the chin. For the knot of the tie, connect the shirt collars with a curved line, then add two lines that go down to the bottom of the paper for the tie.
*As an alternate twist, students could draw a self portrait.
CREATING THE BACKGROUND
Use the waterproof marker to divide the background into several sections with curved lines. Some can go horizontally, some vertically and some diagonally.
To add contrast, make the lines thicker by drawing a second line parallel to the first, then fill in the space in-between with the marker.
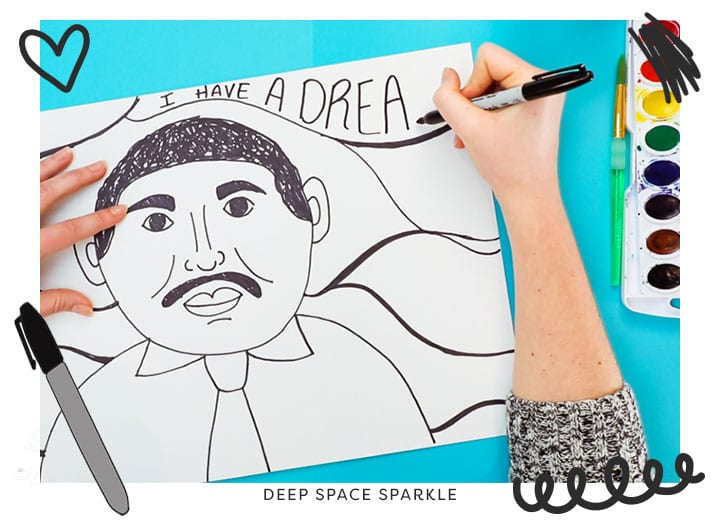
Add the phrase: "I have a dream…" in one section. Select 3-4 other sections and add some of your dreams. These could be personal dreams and goals or loftier goals for society as a whole.
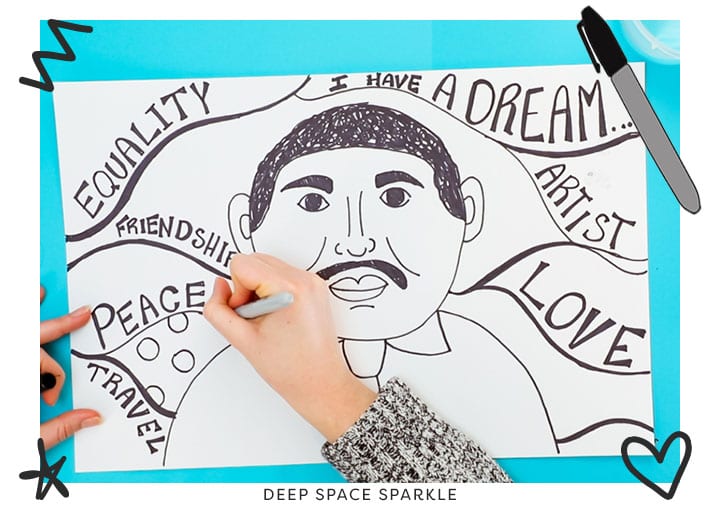
You could take a few moments to brainstorm some words to use with your students before they begin this step, if you wish.
Use pan watercolor to paint in the portrait and the background.
Click the button below to DOWNLOAD the January Freebie Pack. Add your name and email and we'll send it to you!

drawing of martin luther king
Source: https://www.deepspacesparkle.com/martin-luther-king-jr-art-project/
Posted by: jenkinswassely.blogspot.com
0 Response to "drawing of martin luther king"
Post a Comment